Friday, July 26, 2013

Card Making Fun

I know, I know, this poor blog has been neglected as all of my blogs have been. I love blogging, but I just don't have the time to keep up with all of the blogs I try to write. Since last writing in here I have taken up many different crafting projects. I have recently gotten into decorating cards. My favorite thing about making cards is you can make one and then model a bunch around the same idea. Plus, it takes less time than scrapbooking.

I'll try to keep updating my blog with more craft projects, but for now I'll post some of the latest cards I have made:
Valentine Card 2013Valentine Card 2013
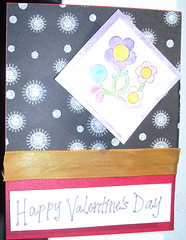
These two Valentine's Day cards were made for my prayer group. We all made Valentine's Day cards for each other.

Valentine Card 2013
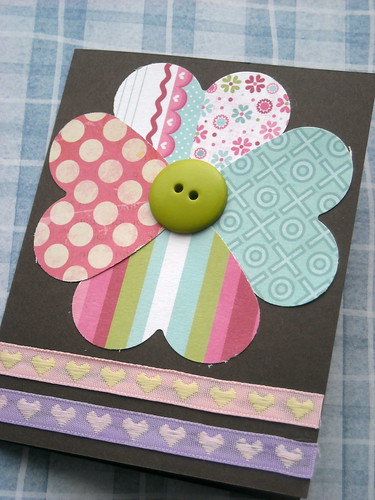
This Valentine's Day card is my favorite. I made a bunch like it this. You can see the other ones at my FLICKR ACCOUNT. Each one was made by punching out hearts and then adding buttons in the center. I love how the results are clearly Valentine's Day without being too romantic. This worked well as I sent these cards to many of my friends and family members. I would highly recommend sending your friends and family members Valentine's Day cards. It was amazing the responses I got to them. So many people feel alone on Valentine's Day just because they may not be dating someone, but this is a friendly reminder that there is someone out there that cares and loves them. Valentine's Day isn't just about a significant other, it is about telling people you love them and care about them!

Example for Card Challenge
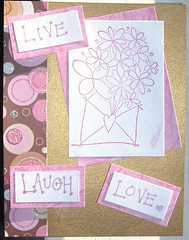
I really like making handmade Thank You cards. It is such a personal touch! This Thank You card was inspired by a picture on pinterest.

Card for a Friend
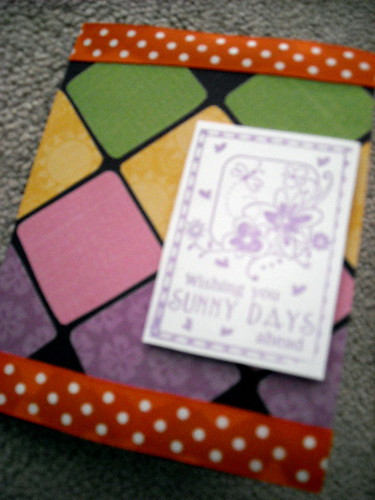
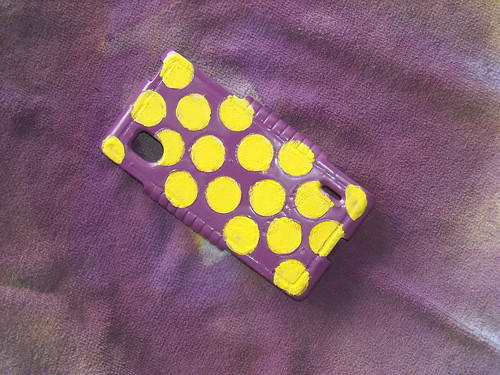
And finally a card just for fun. It turned out really nice if I do say so myself!

Let me know what you think! :)

Thursday, July 25, 2013

Decorating my Otterbox Phone Cover

I got a new phone a few weeks ago. I am really excited about it, but the only problem is it is so new that I could only get the otterbox in black. Now normally I would be okay with this, but one of my good friends that I spend a lot of time with has the exact same phone with the exact same case. It can make life a little bit more confusing by having two phones next to each other. Yes, they are set-up different, but who wants to check every time they grab their phones.

So, me being the crafty person I am started searching for ideas on how to cover my otterbox. I came across this blog post on pinterest that helped me kick start the process. From there the creative juices started flowing. What about polka dots? I love polka dots! :)

Here are all the supplies you need for this project:
DSCN2428Masking Tape and Adhesive CirclesGloss FinishOriginal Otterbox

First, I taped the whole back of the phone case and then painted the phone case purple as I wanted the sides to be purple.
Otterbox tapedPainted Purple

Next, I taped around the square back and painted just that area yellow. This will soon be the polka dots.
Painted just box back Yellow

After letting the yellow dry (REALLY let it dry! Otherwise it kind of peels off with the stickies. Plus, you can get rid of some of the tackiness of the adhesive by sticking it to fabric before sticking them to the paint.) stick the adhesive dots to the back.
Adding Polka Dots

Paint the whole thing purple again.
Painted Purple Again

I accidentally bought gloss that is also a color, so I finished and then sprayed it a random color. :( It was really sad, but I did fix it and finished it with a gloss to hold it in place.

Here is the result:
Finished Otterbox Cover

People Who Follow This Blog

Map of Guests

Locations of visitors to this page